
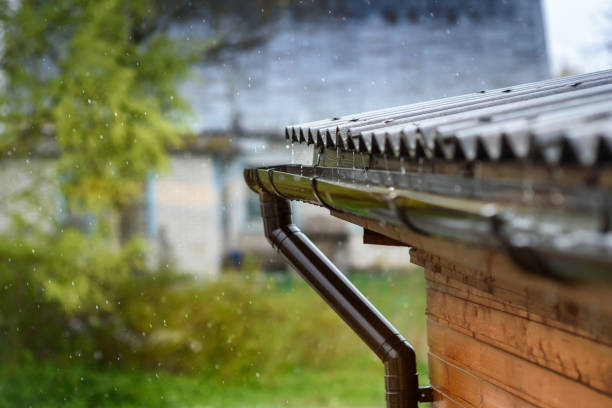
Have you ever noticed how your garden plants look instantly greener, perkier, and more vibrant after a fresh downpour? That isn’t just your imagination—rainwater is truly nature’s ultimate plant elixir.
While tap water keeps plants alive, relying solely on municipal or groundwater can lead to mineral buildup and stressed foliage over time. Setting up a basic rainwater harvesting system at home is one of the easiest, most cost-effective ways to nourish your garden naturally while conserving precious water resources.
Here is everything you need to know to start harvesting rainwater for your home garden.
Why Rainwater Is Better for Plants
Tap water often undergoes chemical treatment and picks up heavy minerals along its journey to your hose. Rainwater, on the other hand, is custom-tailored by nature for plant health:
- Free of Chlorine and Fluoride: Tap water contains treatment chemicals that can harm delicate soil micro-organisms over time. Rainwater is 100% natural and chemical-free.
- Slightly Acidic pH: Rainwater typically has a slightly acidic pH (around 5.5 to 6.5), which helps dissolve essential soil nutrients like zinc, iron, and manganese so plant roots can absorb them easily.
- Rich in Bioavailable Nitrogen: As rain passes through the atmosphere, it absorbs small amounts of nitrogen—acting as a gentle, natural fertilizer boost every time you water.
- Salt-Free: Ground and well water often contain dissolved salts that create a white crust on pot rims and burn root tips. Rainwater flushes these accumulated salts out of container soil.
3 Simple Rainwater Collection Methods for Homes
You don’t need an expensive, high-tech underground filtration system to collect rain. Here are three simple setups perfect for urban homes and apartments:
1. The Rain Barrel Setup (Best for Roofs & Gutters)
If your home or terrace has rooftop drainage pipes (downspouts):
- Place a heavy-duty plastic drum or food-grade barrel directly beneath the drainage outlet.
- Install a mesh screen or strainer over the top opening to catch leaves, twigs, and debris.
- Add a small faucet or spigot near the bottom of the drum to easily fill watering cans.
2. Open Bucket & Tub Collection (Best for Balconies & Terraces)
If you live in an apartment or don’t have dedicated downspouts:
- Place wide-mouthed buckets, plastic storage bins, or unused tubs in open terrace areas or extended balcony edges during rainfall.
- Once the rain stops, cover them securely or transfer the water into covered containers for later use.
3. Tarp & Sheet Catchment (Best for Open Yards)
- Angle a clean tarp or plastic sheet toward a central collection bucket in an open backyard space to funnels rain directly into your storage container.
How to Store Harvested Water Safely
Storing water incorrectly can quickly lead to stagnant smells and mosquito breeding grounds. Follow these simple safety rules:
- Keep Containers Covered Tight: Mosquitoes (Aedes) love standing, stagnant water. Secure fine mesh netting or a tight lid over every storage barrel.
- First-Flush Rule: The first 5–10 minutes of a downpour wash away dust, bird droppings, and pollution from your roof. Divert or discard this initial “first flush” before collecting water in your main drums.
- Keep It Cool and Dark: Store barrels in shaded areas away from direct sunlight to prevent algae growth inside the water.
- Use Organic Mosquito Control: If storing water long-term, toss in a Mosquito Dunk (a natural bacterial larvicide safe for plants and pets) or add a few drops of neem oil